(2.1) Clock inspo – design concepts – form development

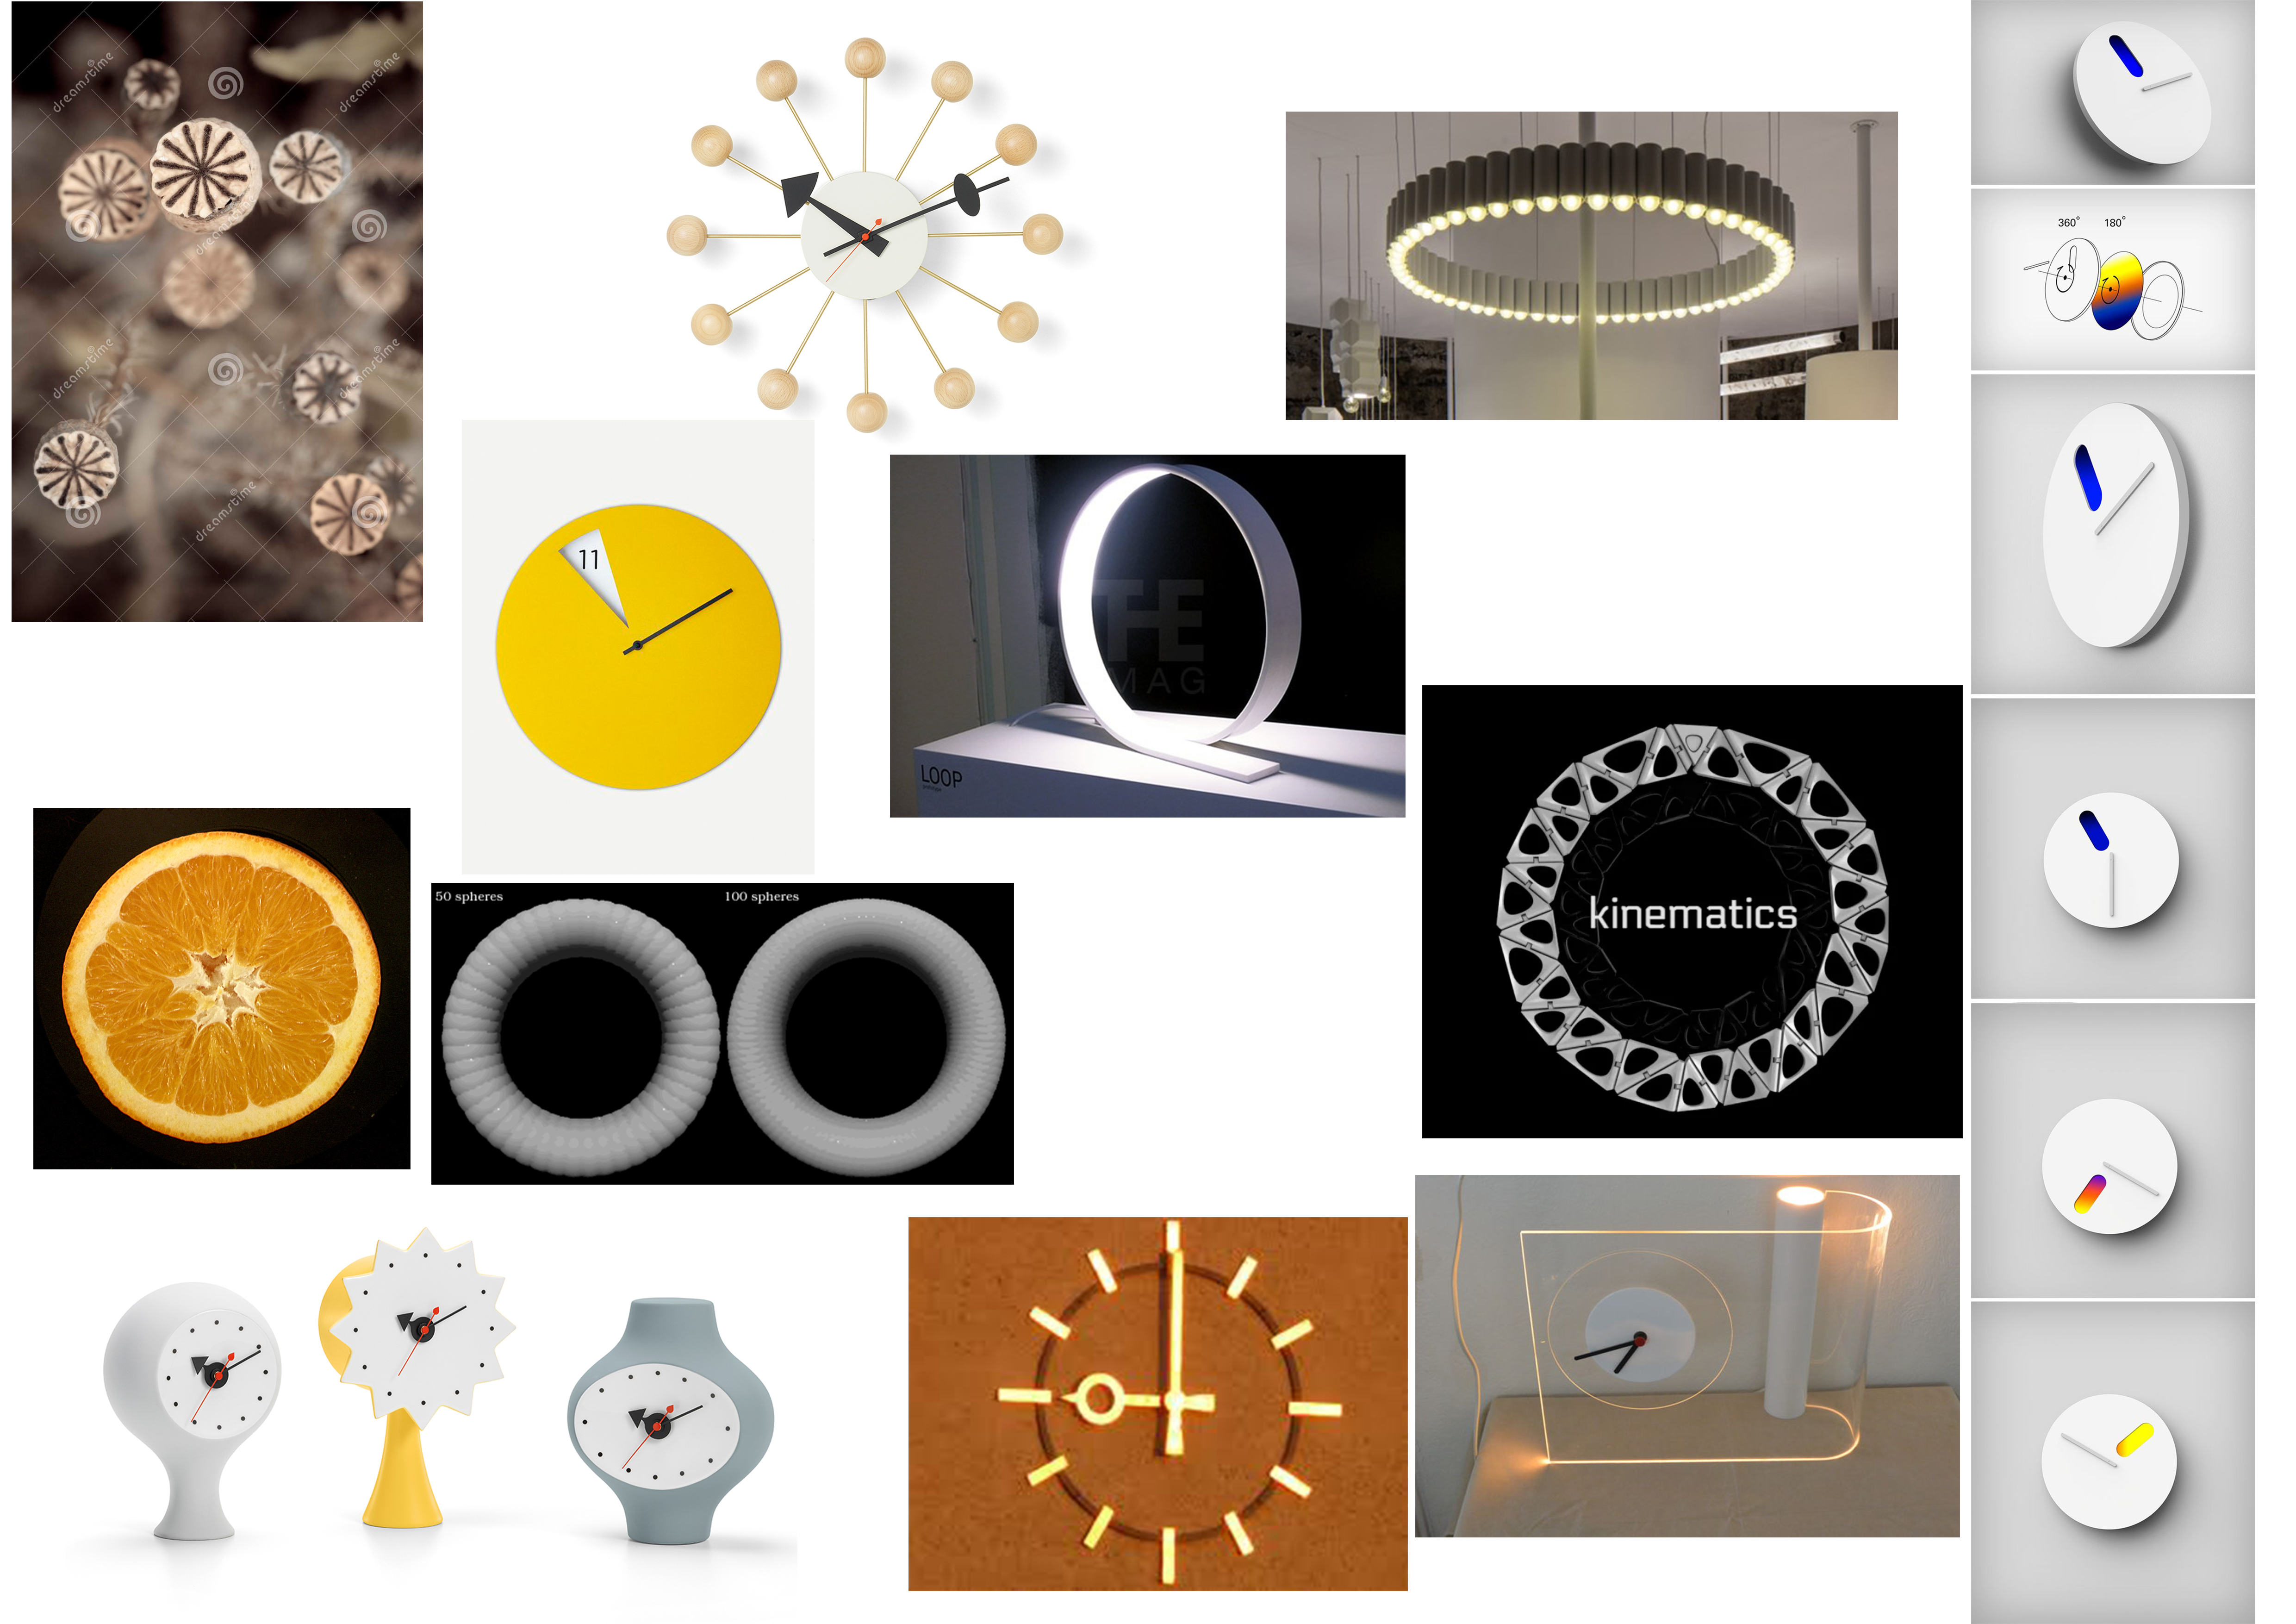
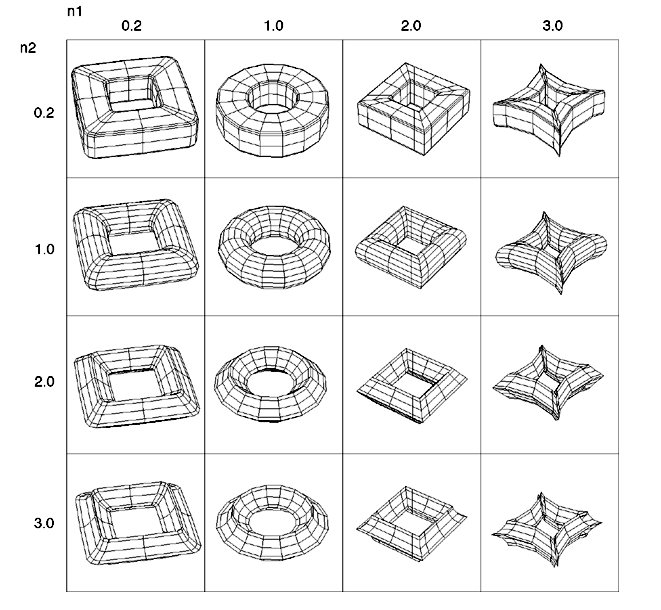
Here i’ve gathered some clocks and cellular, natural objects. I am leaning towards a torus form.

If i use fabric it needs a skeleton / hard base structure.

Can laser-cut skeleton form from or 3d print but size constraint Other options? :

I googled torus shape laser cut .

http://fab.cba.mit.edu/classes/863.11/people/lining.yao/design%20Projects/project1.html

This is close to what I want but not quite. I really like the cellular-ish hollows.

(1.4) FabLab Tips and Tricks

I have previously used laser cutters and 3D printers, however, Wendy gives some very handy advice on FabLab’s digital fabrication machines. I will document the most useful for myself here:

Laser cutter

  • Download the templates for all laser cutters. Efficient design practice.
  • They use vector based software (illustrator).
  • Rocket ship symbol , enhance thin lines.
  • Rasterising is horizontal so flipping things

3D printer

  • Layer height must be multiple of nozzle size as well as width???

Digital Embroidery

  • Load com with ubuntu. Click Ubuntu again. Ubuntu is vector based.
  • Load Inkscape.
  • Fabric held in plastic embroidery hoops. Inkscape page size needs to be size of one of the embroidery hoops (written on frame of hoops).
  • Set pg dimension = file – doc properties -width/height = embroidery hoop dimensions.
  • Enable pg border and manual zoom.
  • 2 stitch types- running stitch and zigzag.
  • Fill and stroke settings. Select square w paintbrush icon above T. Choose any dashes other than straight line. Won’t affect what it looks like on machine. No fill w dashed line = running stitch.
  • Blak line = zigzag. also no fill. Adjust width to what u want (mm).
  • To fill= Select fill. Will outline fill if u select a stroke. Untick for normal fill.
  • Export by = extentions – inkstitch -params. Assign each object some parameters. (or previous extention settings.
  • Params – repeat should default to 1. Default 1.5.
  • Apply will apply for the one obj. 0.4 is default for zigzag spacing.
  • for fill. Expand helps the fabric not be drawn together and therefore shrink. Max fill stitch length leave 3 prob. Spacing between rows changes lots.
  • Final step is to export file. Deselect all. extentions, inkstitch. eng. embroider. output file format is DST. file explorer then guest data folder. right click ur folder name then copy and paste in directory. Click live preview.

(1.3) External power source setup

We are testing out more open sources codes using the long neopixel strip. This means we need an external power source because running too many LEDs through a USB port can cause it to blow up.
The green display below must show below 5 volts (shows 4.9).

LED and Arduino run on 5 volts

Multimeter:

Get the clip wires and make circuit -red to red, black to black.


– Set to 20v as 5 is lower than 20.
– 5.1 is fine

When ready clip to circuit.

This is an important layout to remember when wiring up the external powers source: