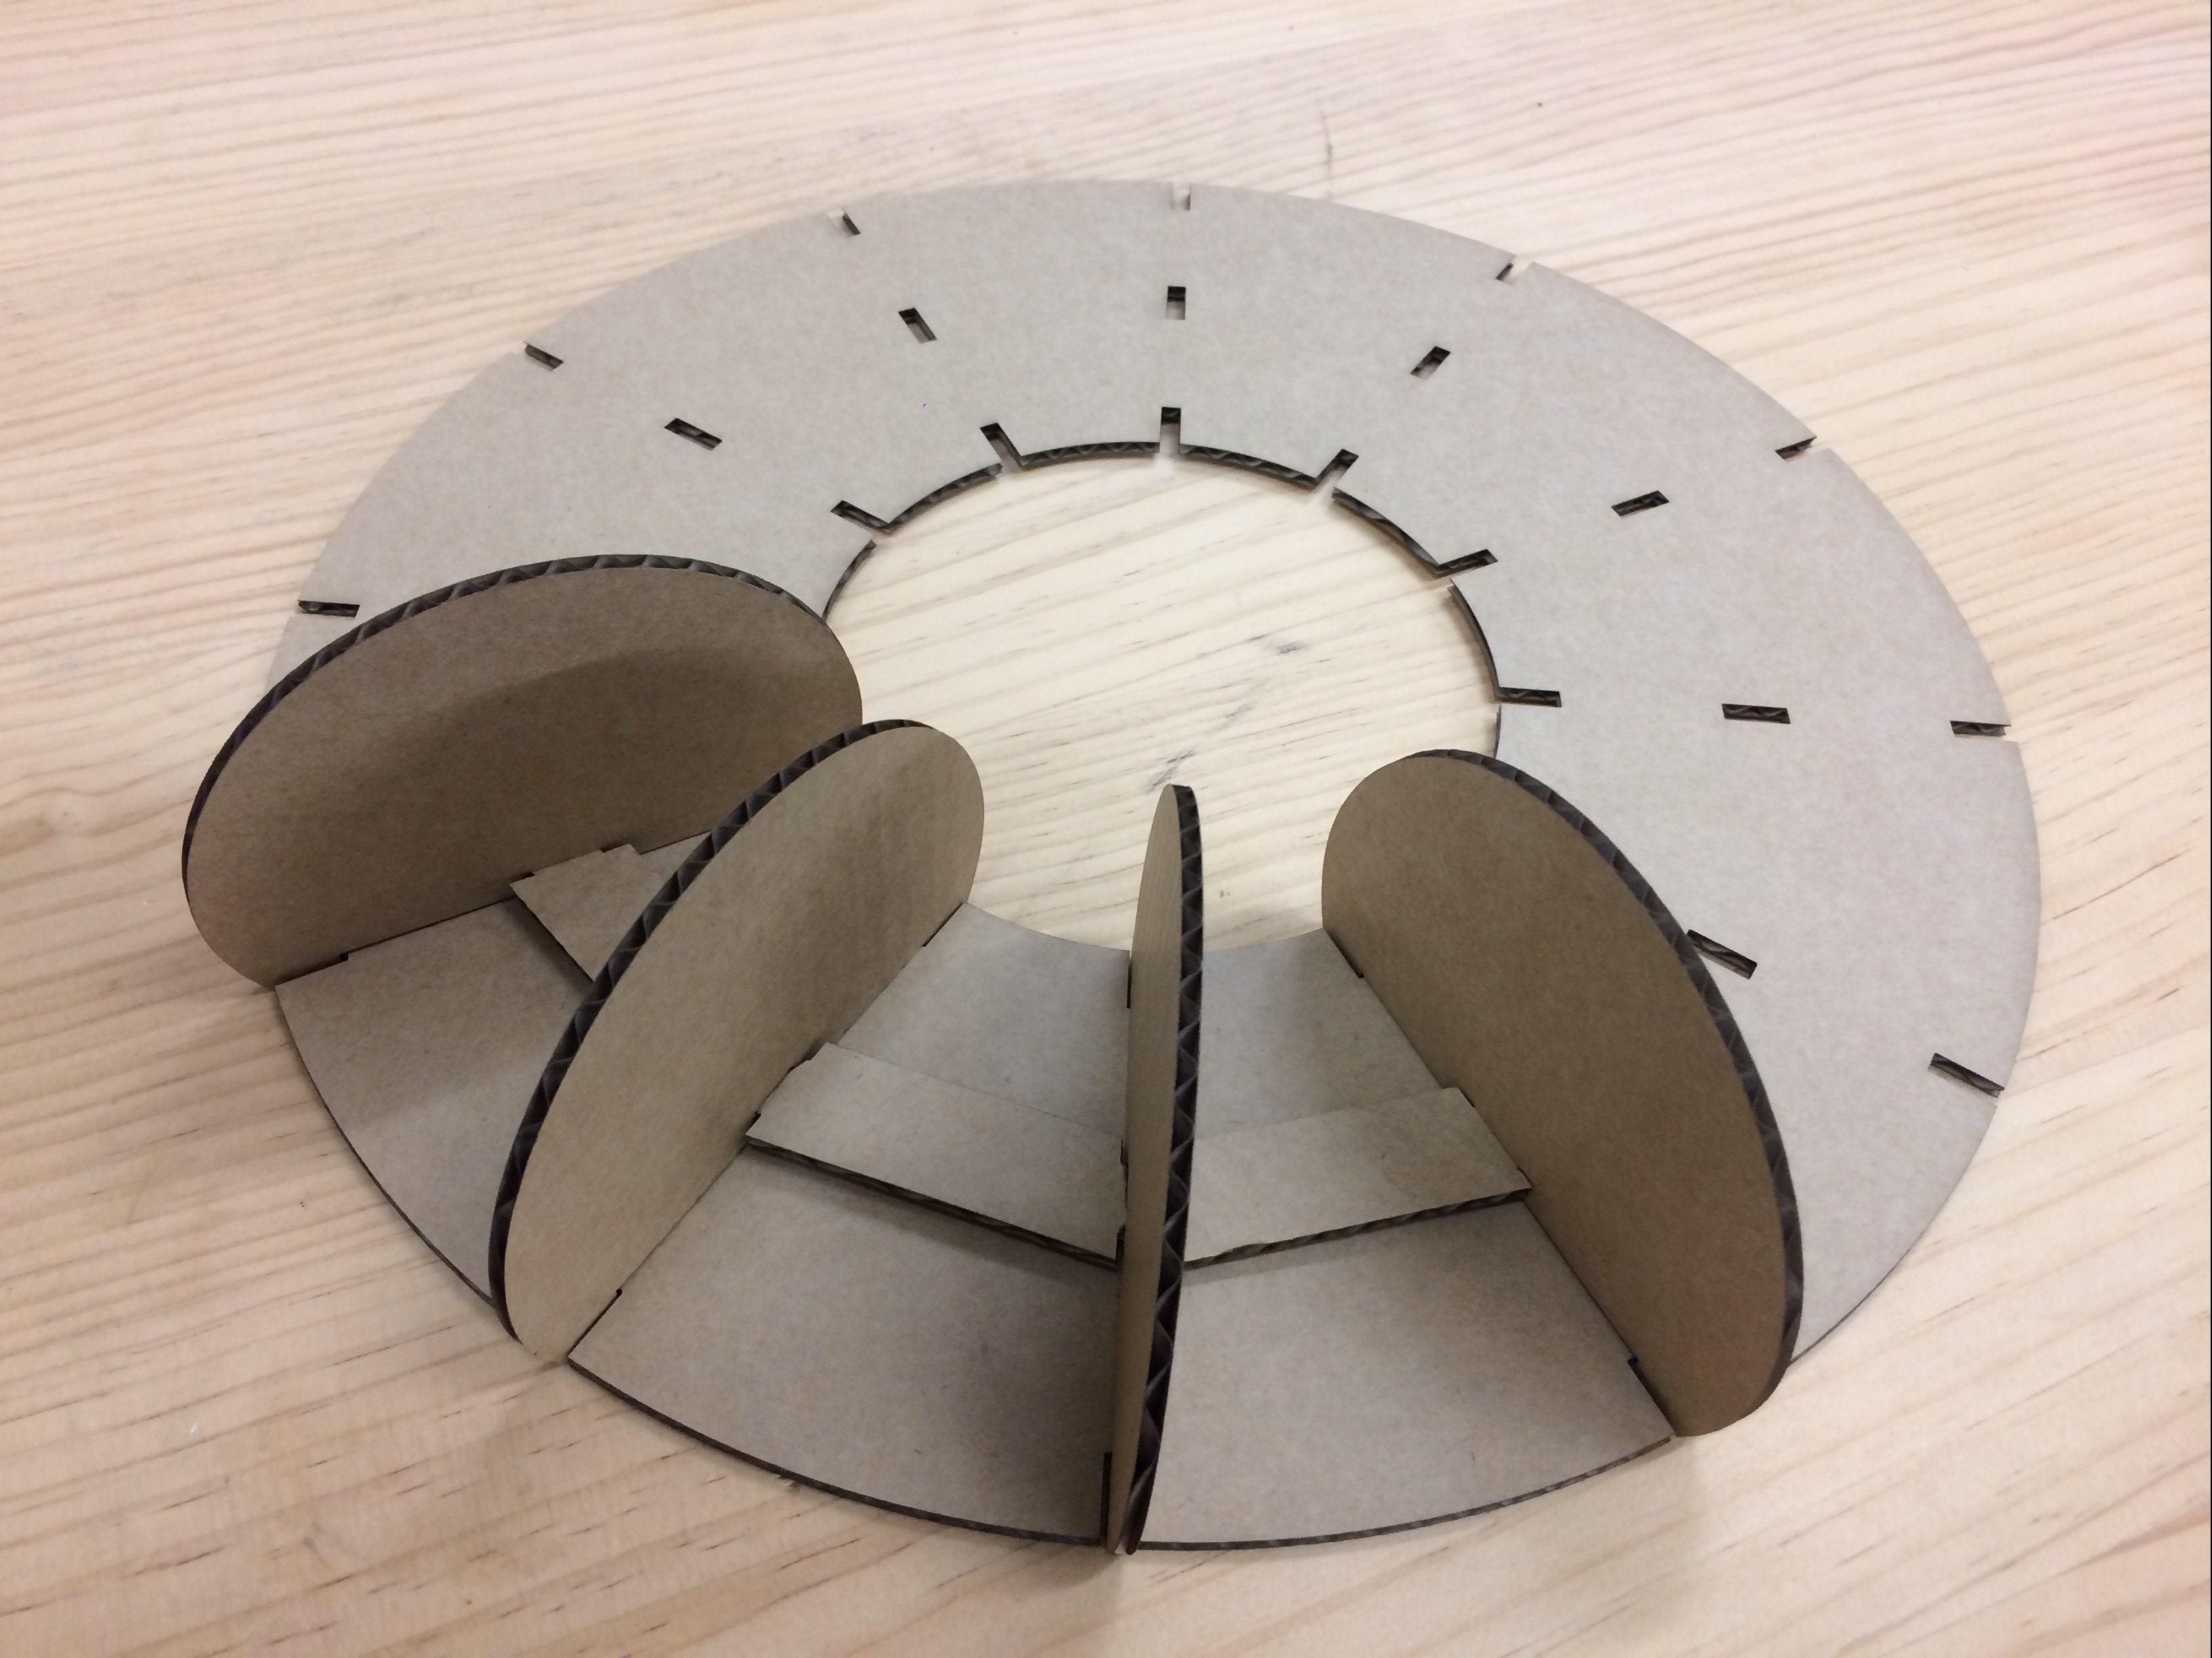
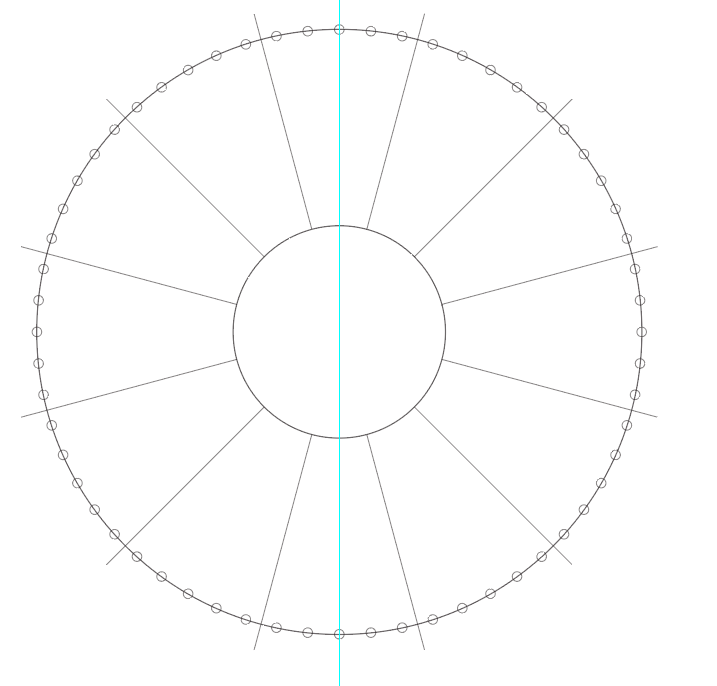

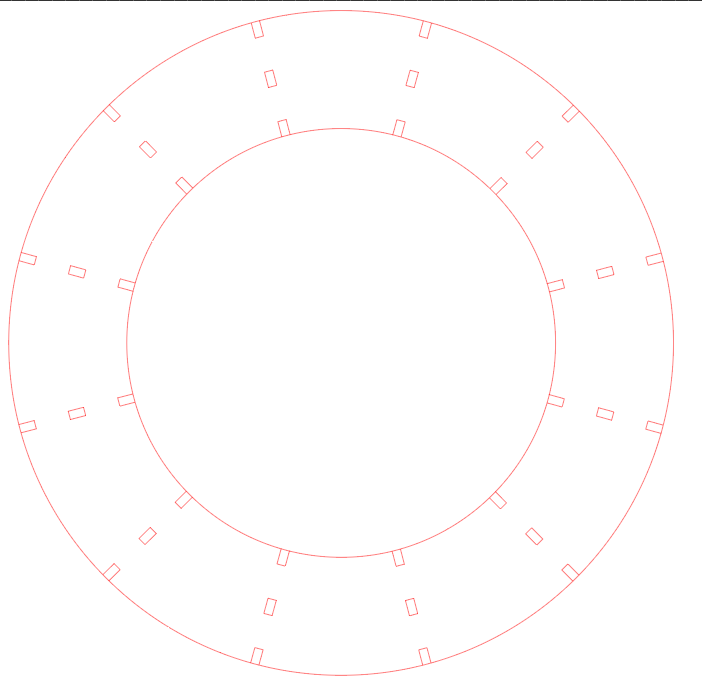
This was my first prototype. I created a simple illustrator file with measurements for the neopixel strip to fit around the outer circumference, with the light shining inwards. My laser cut on cardboard went well and the pieces fit together but the size in person seemed too small and I would rather the light shone outwards.

I then changed the measurements of the illustrator file to have the Neopixel strip running along the inside circumference and the light shining outwards. This size worked a lot better visually. Another iteration I made was to shorten the segmenting pieces so that the profile of the clock won’t be as tall but light will show up brighter / not as diffused.
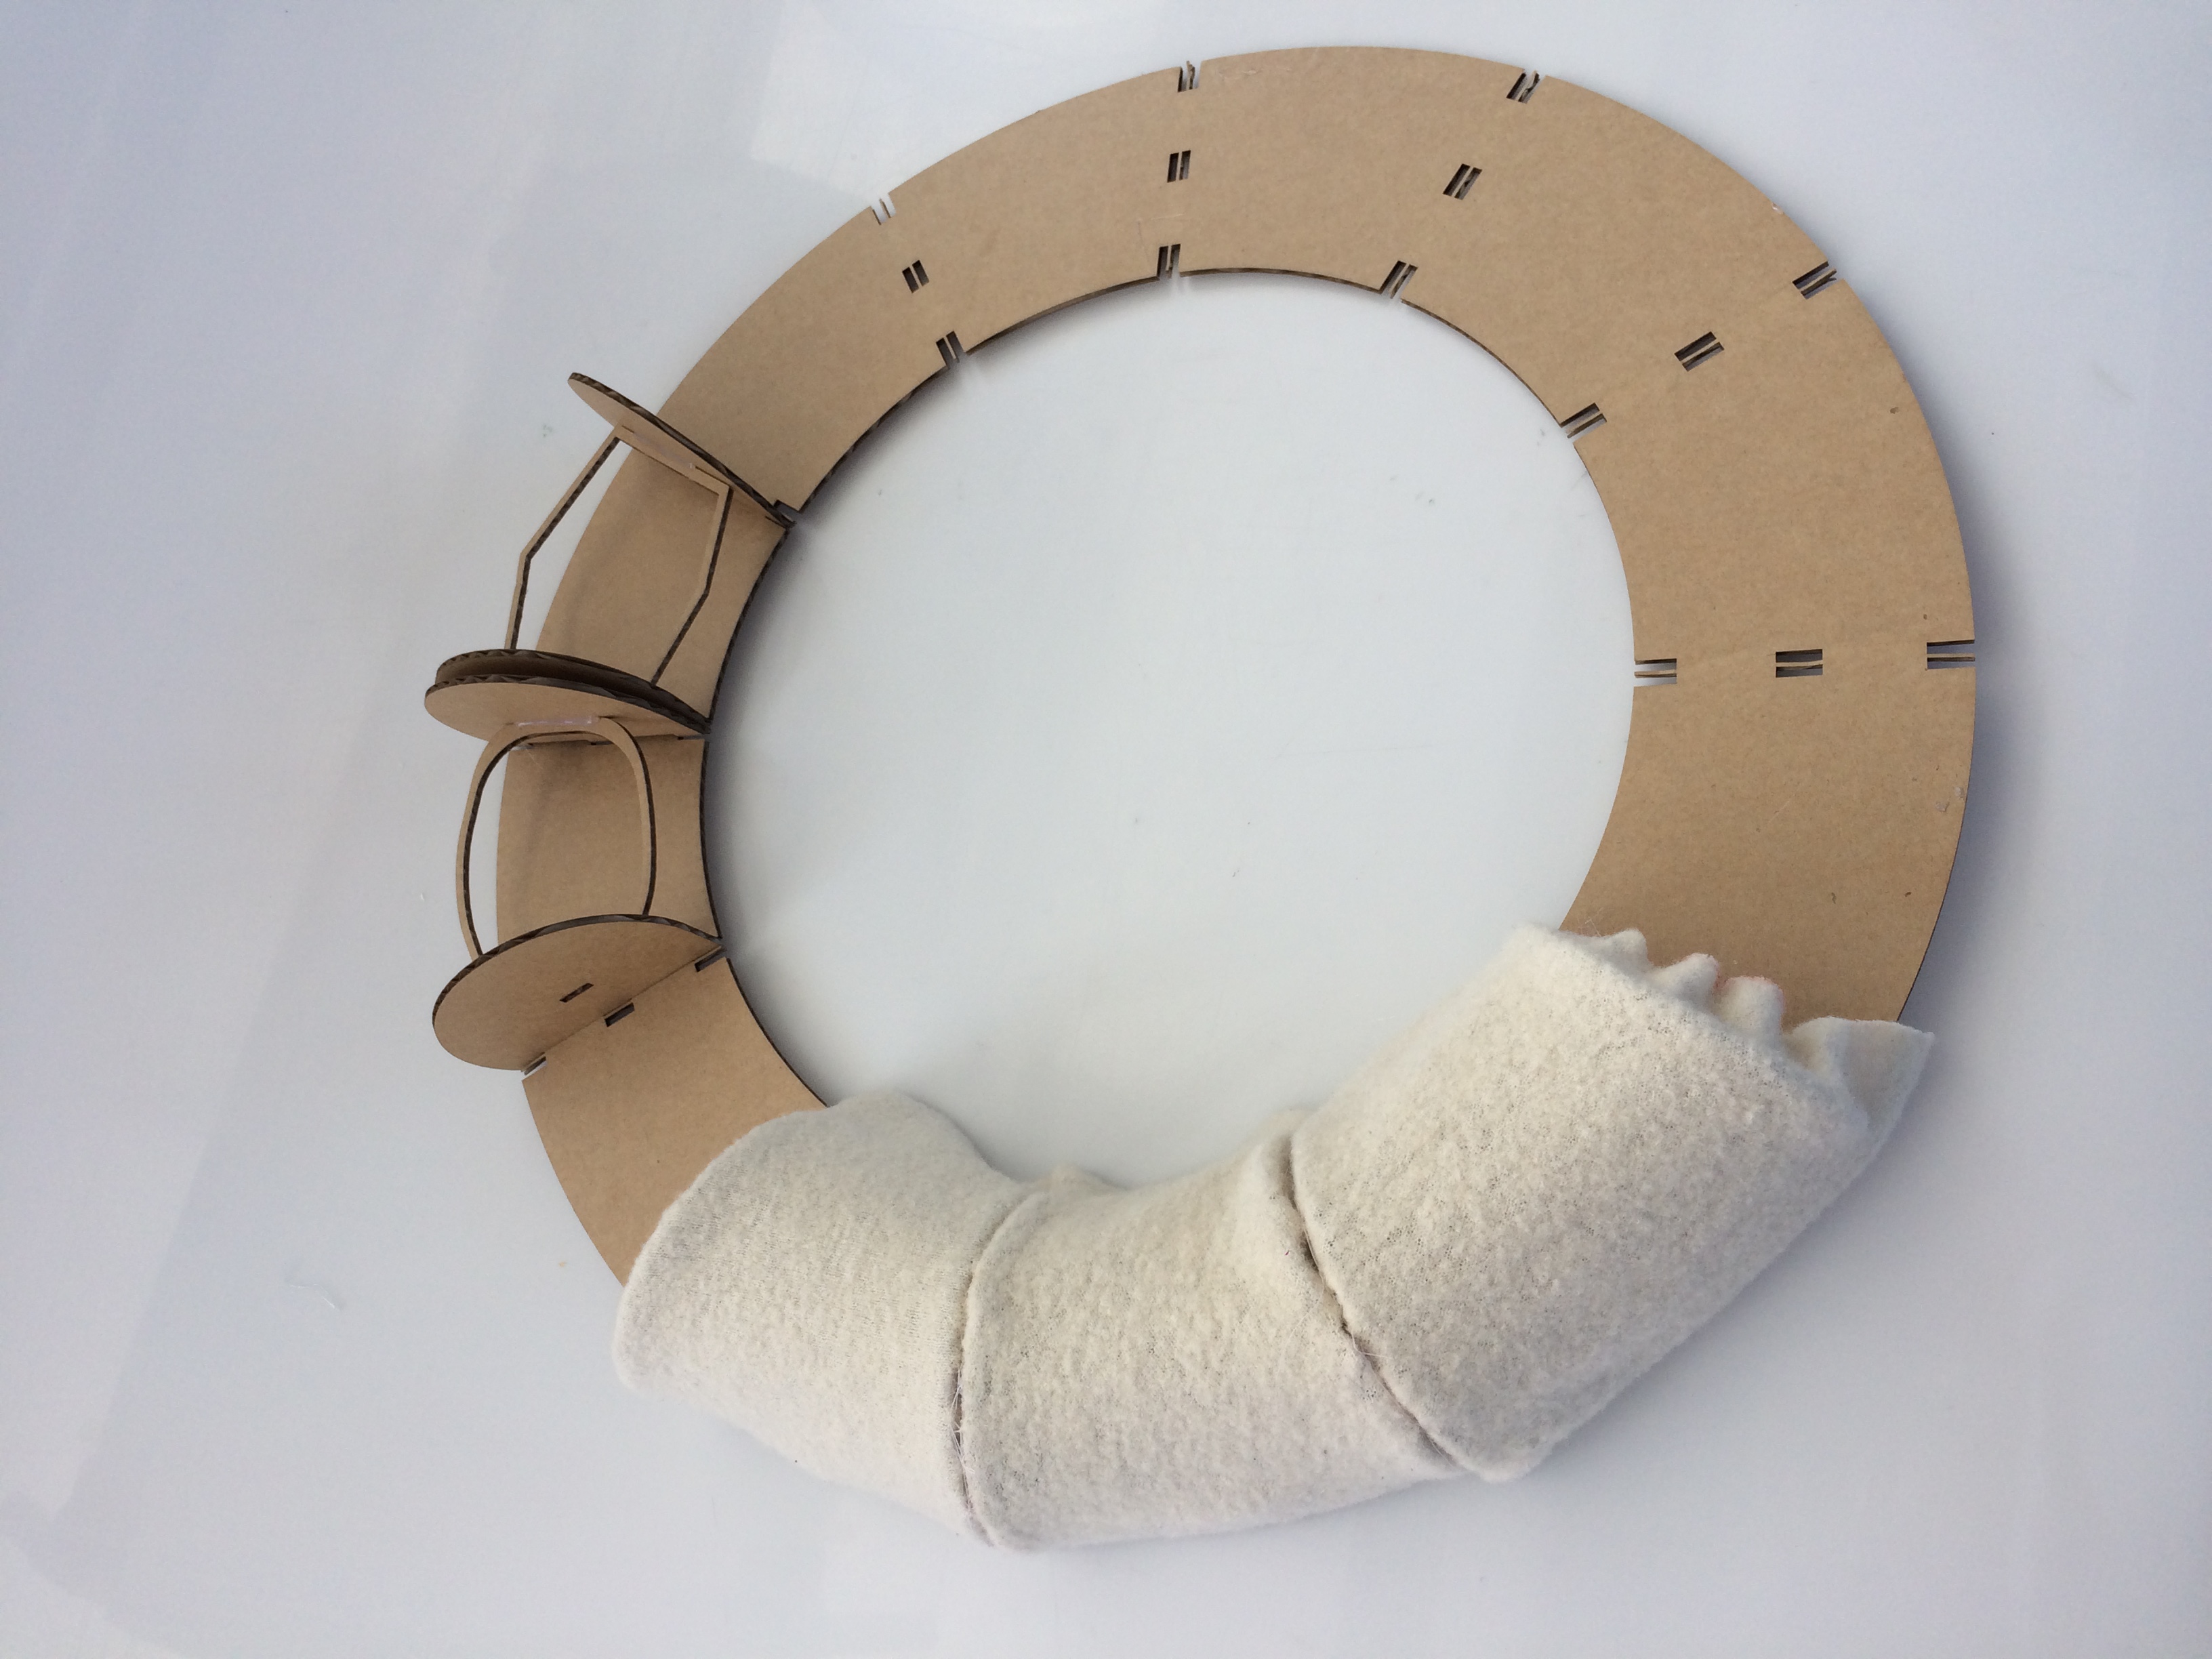
To test out how fabric would sit on the form I made a basic paper stencil as Emma suggested and adhered fabric off an old dressing-gown over each section..
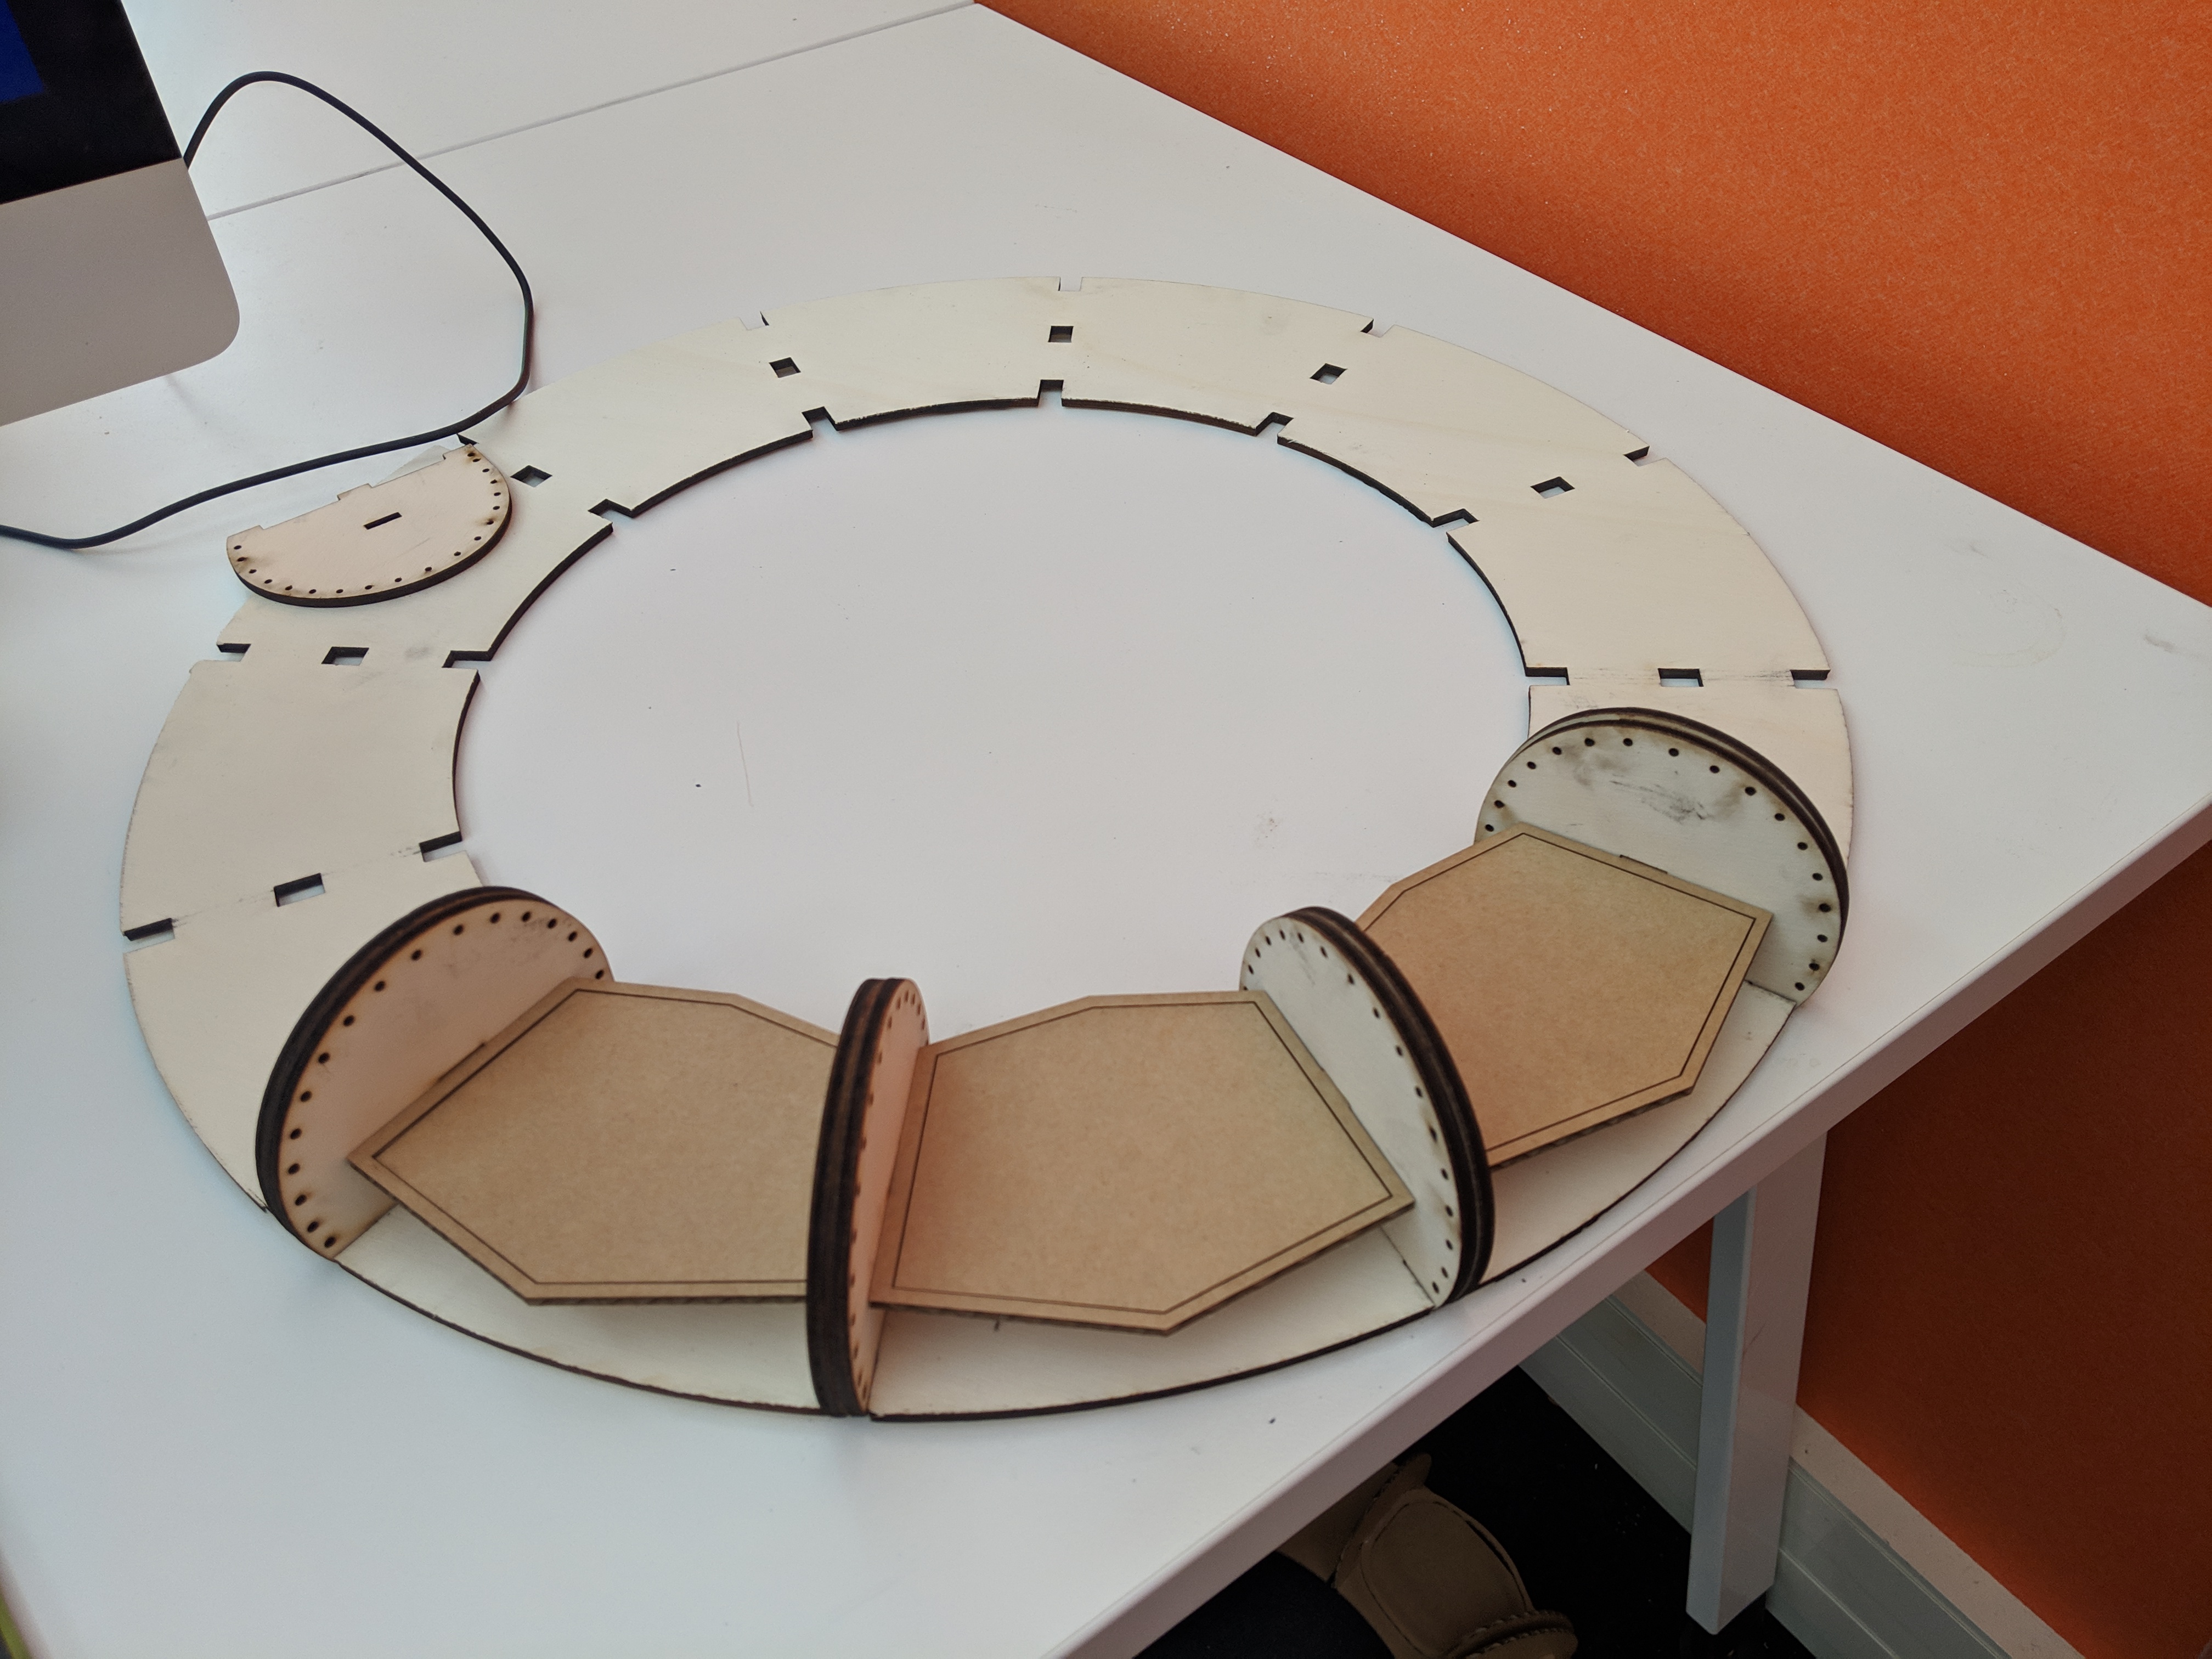
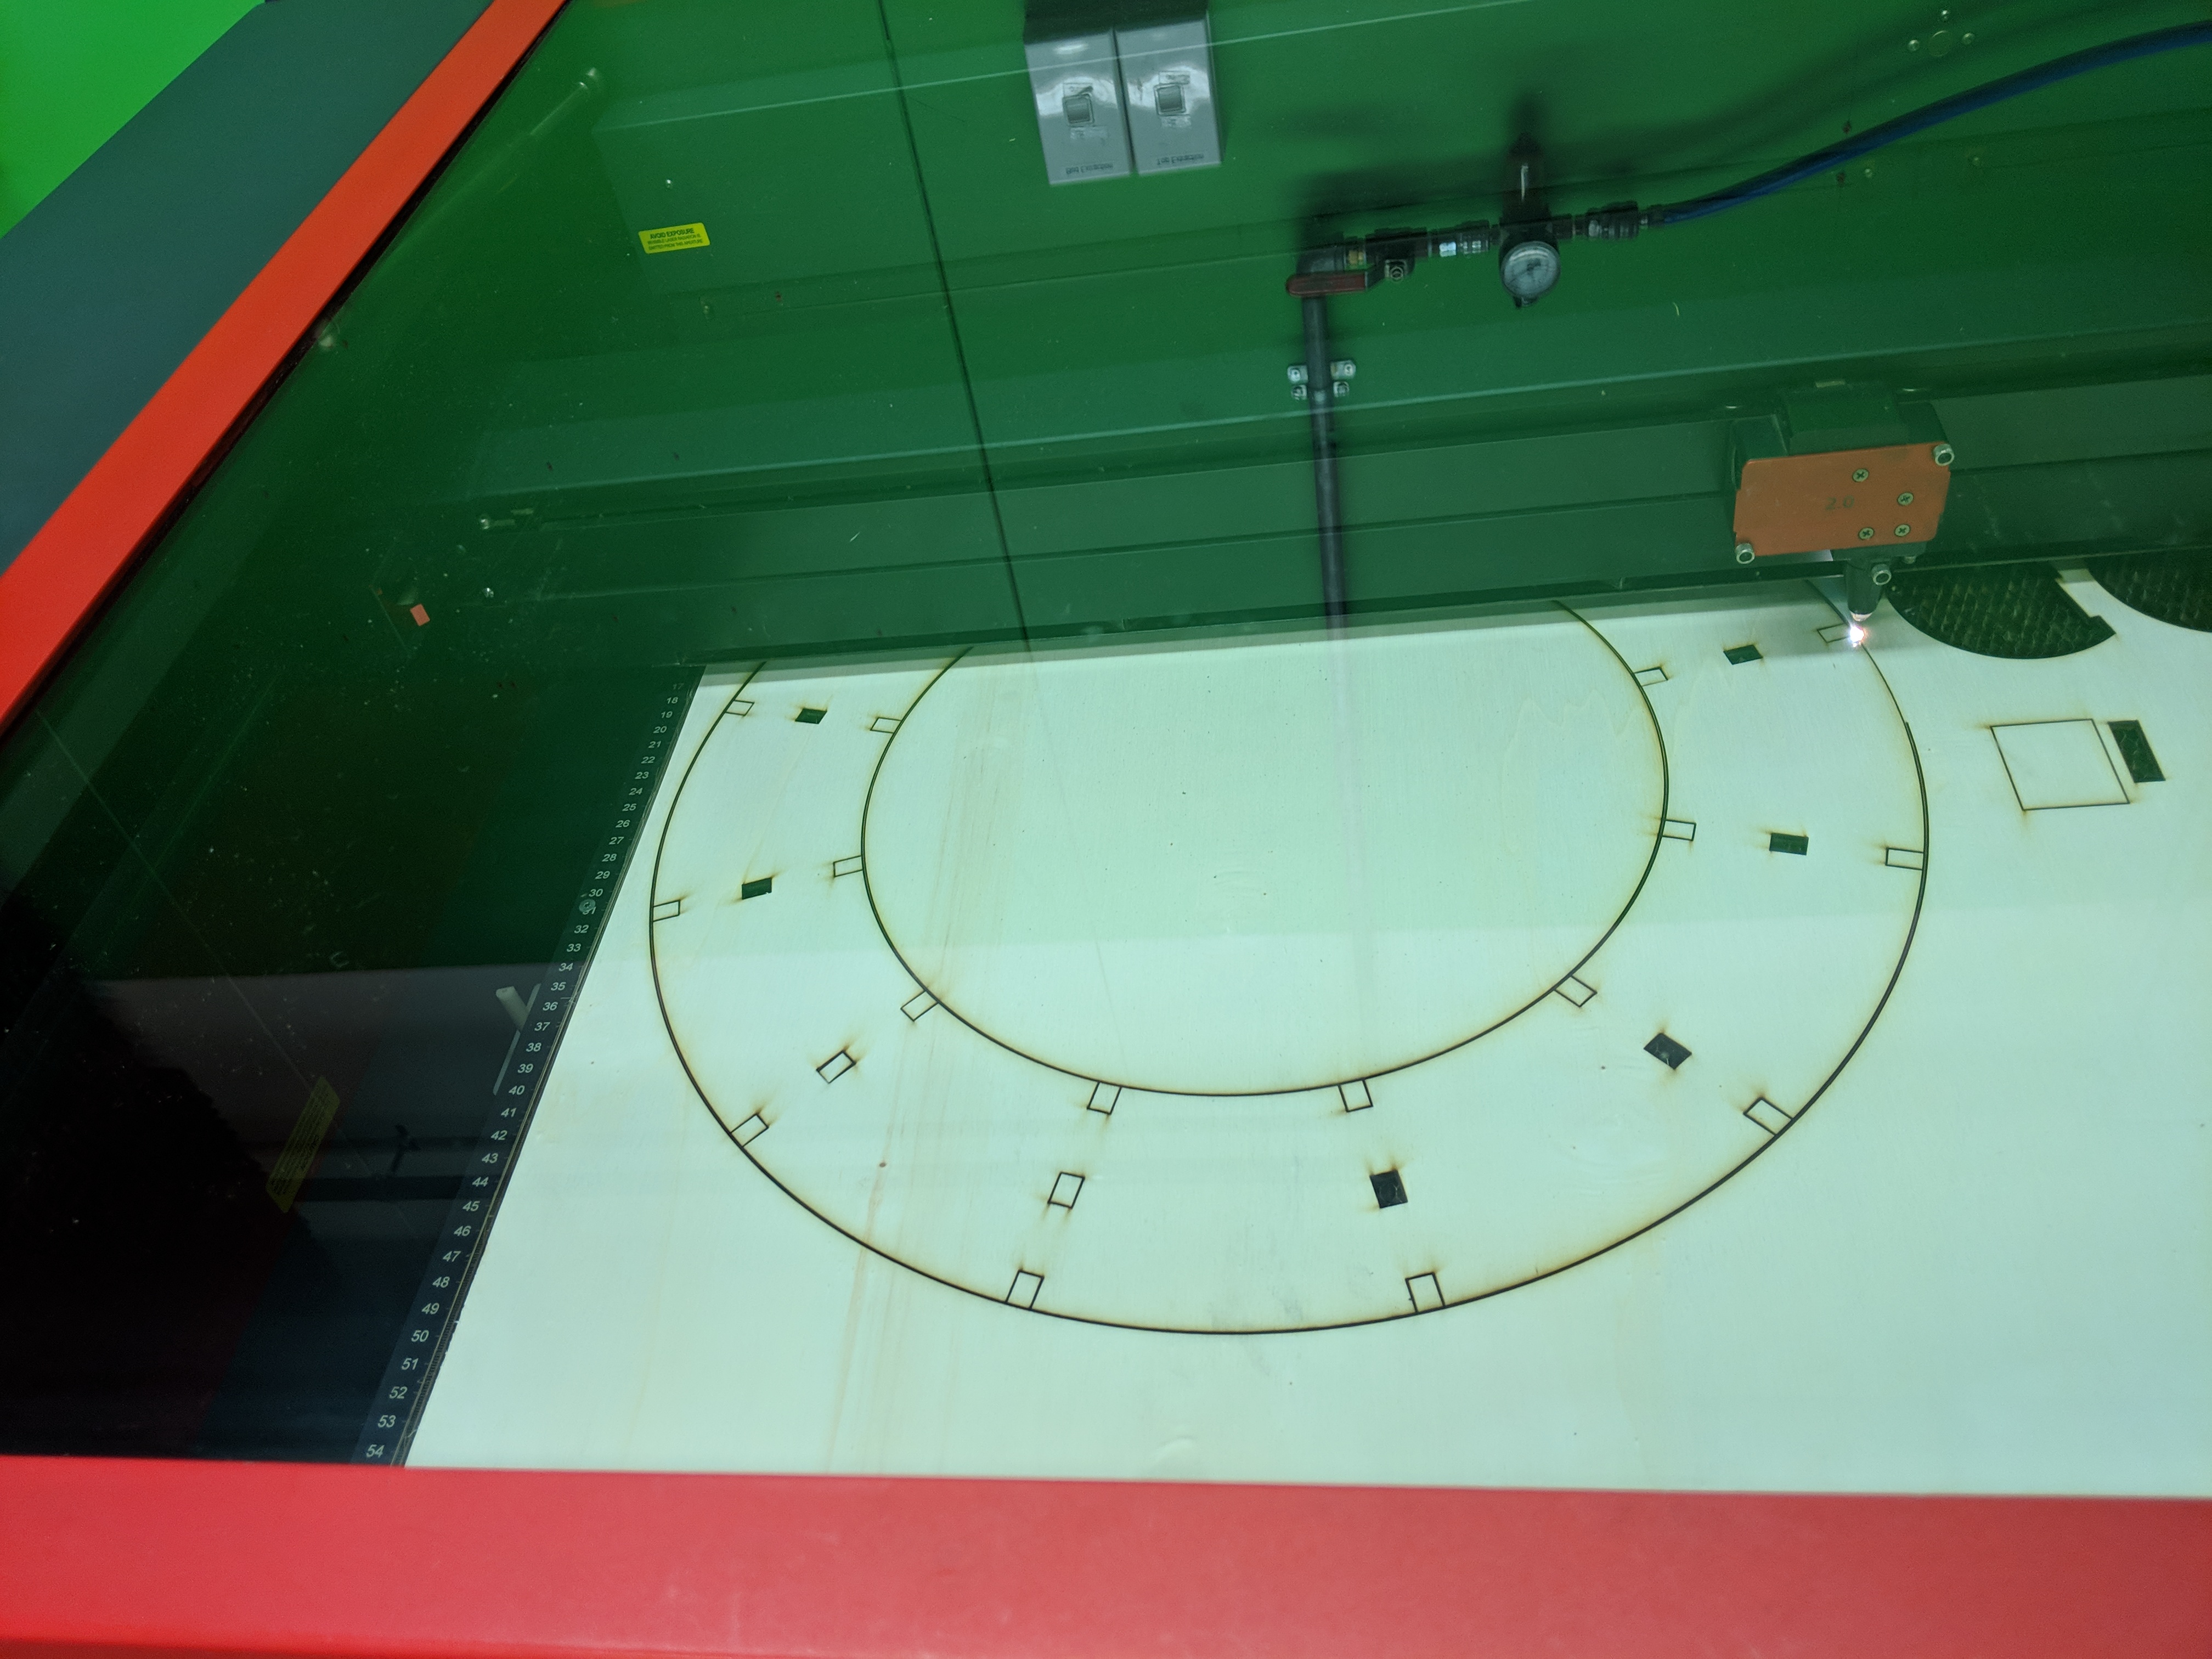
Some further iterations included getting rid of the small gap between the slot holes on the back piece that fit the segmenting pieces, and adding holes to the design of these pieces so that the fabric could be sewn onto them and the pieces could be sewn together rather than glued. I thought poplar ply would be a good choice as a final material and used it for this prototype, however, it was very ashy on the edges that had been laser cut as you can see in the pictures above. Now I have decided to use MDF as my final material because acrylic was only available in transparent colours.
