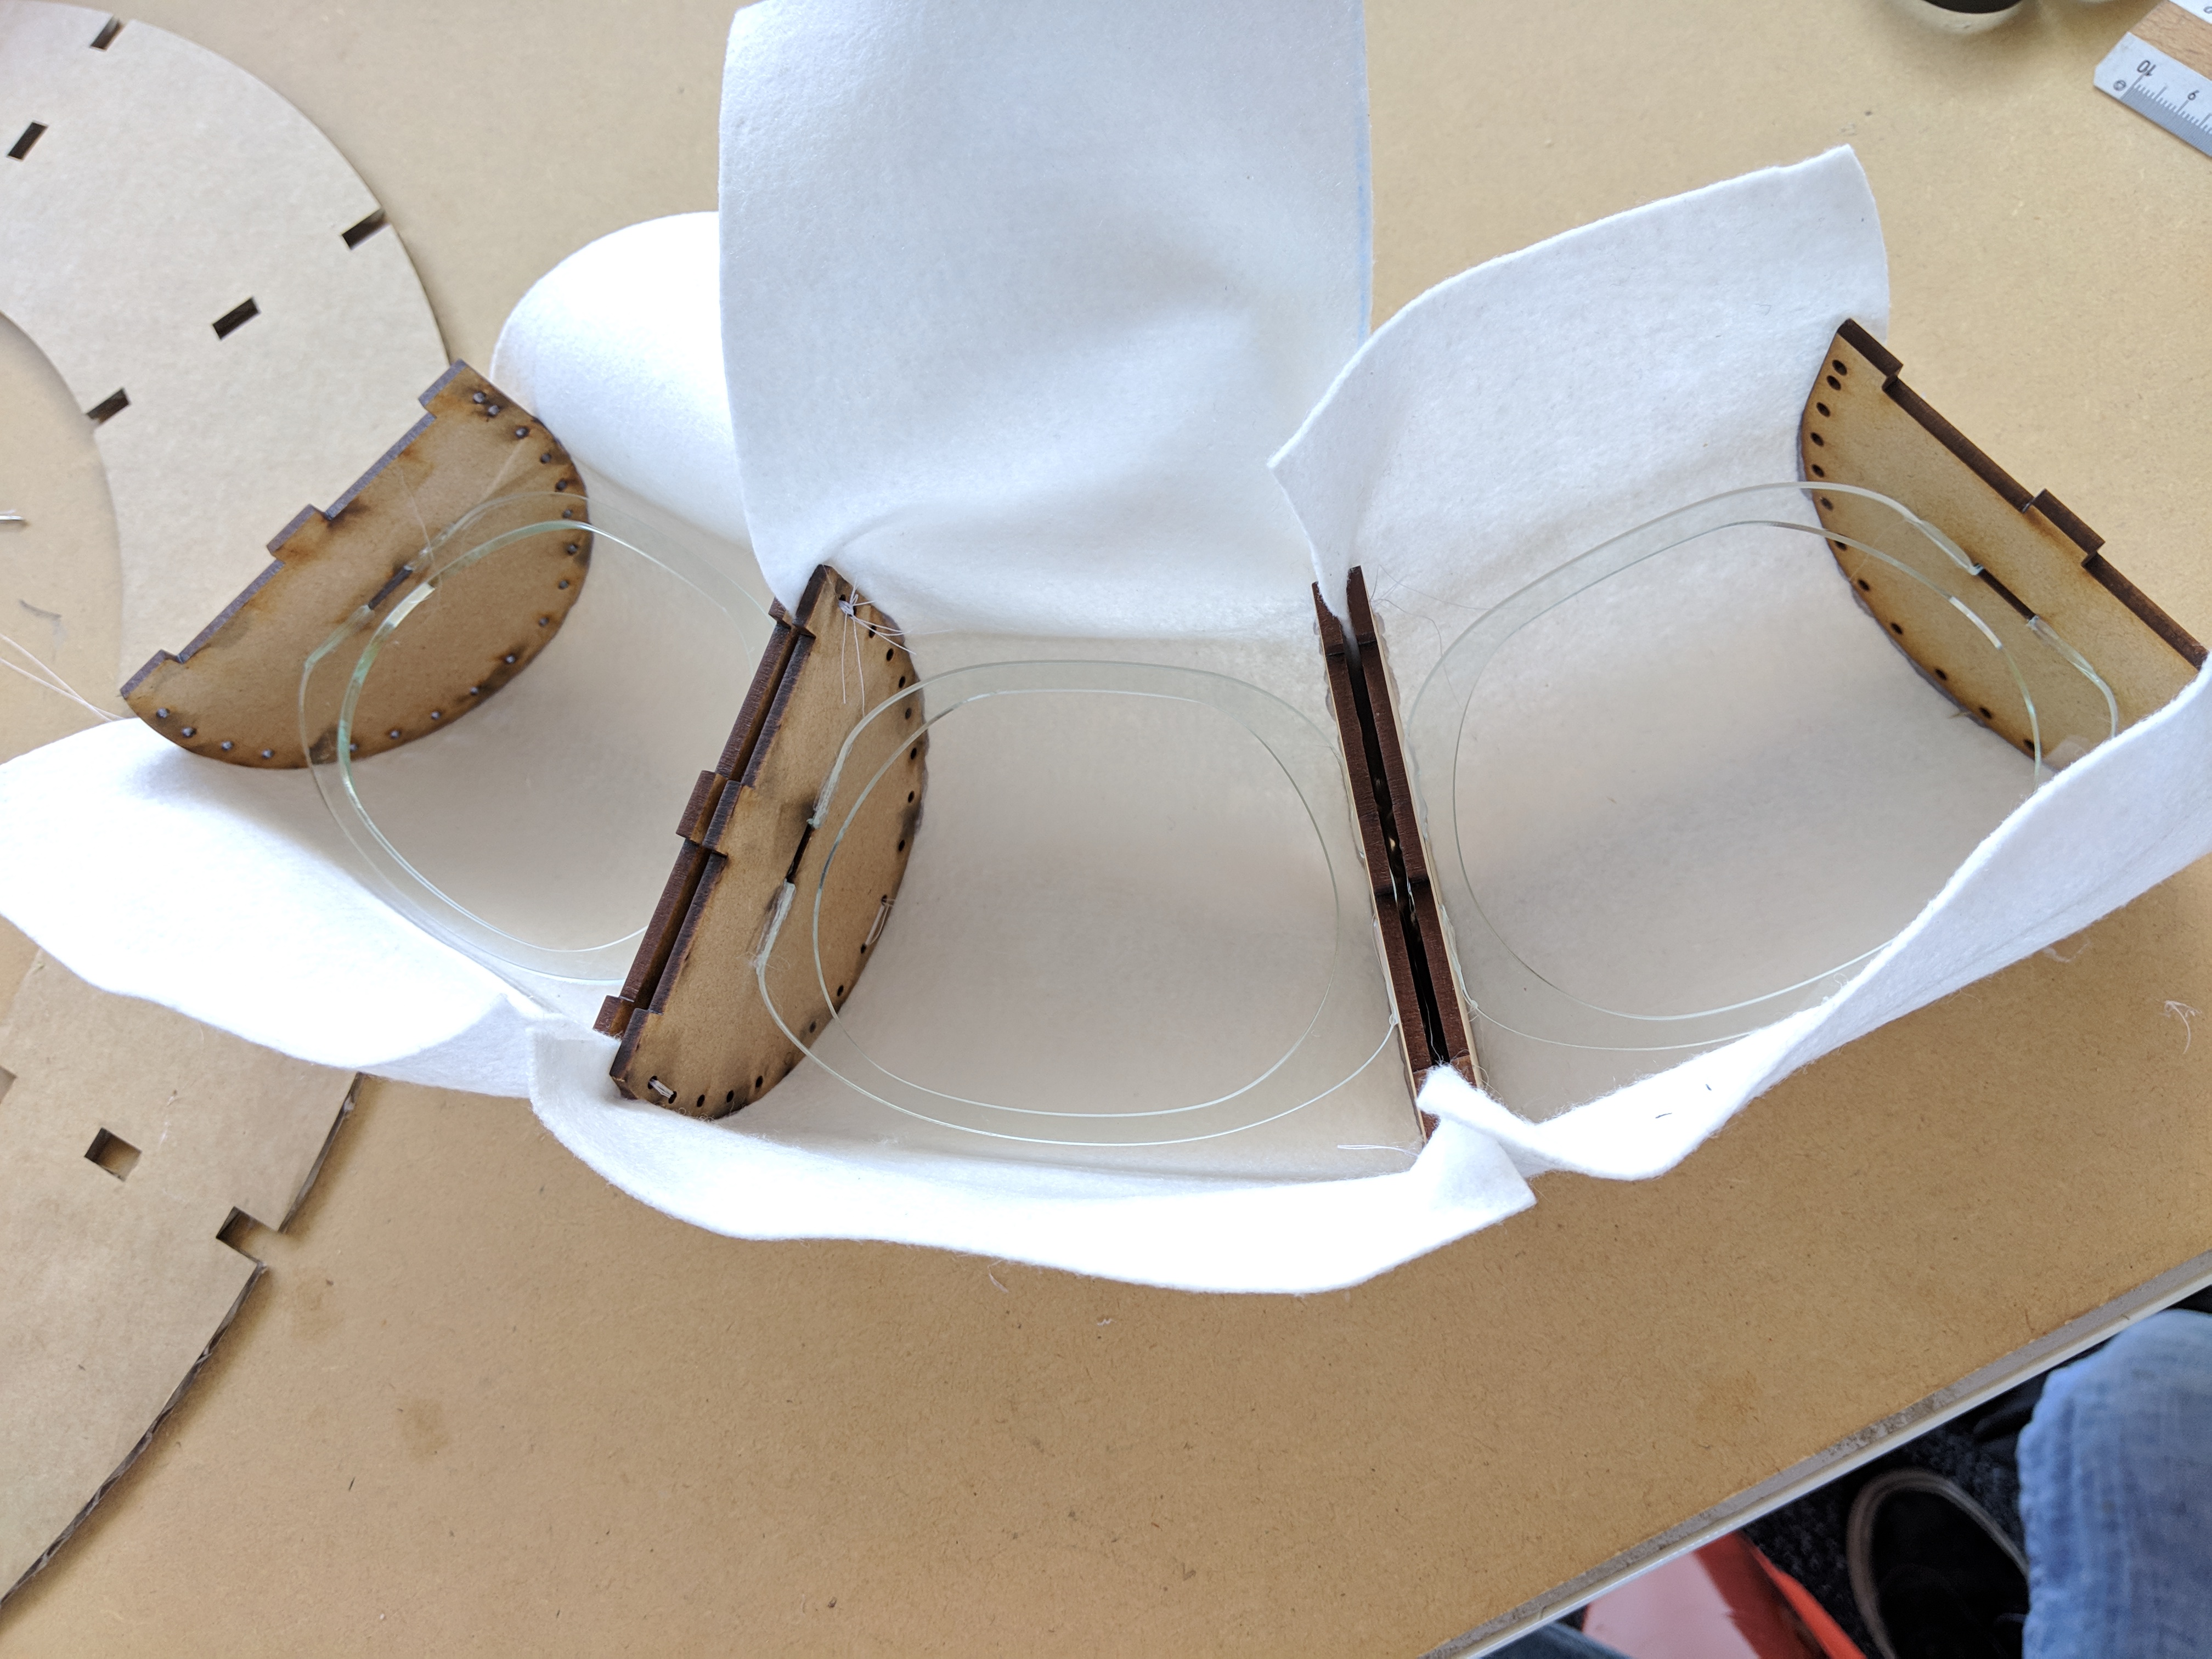
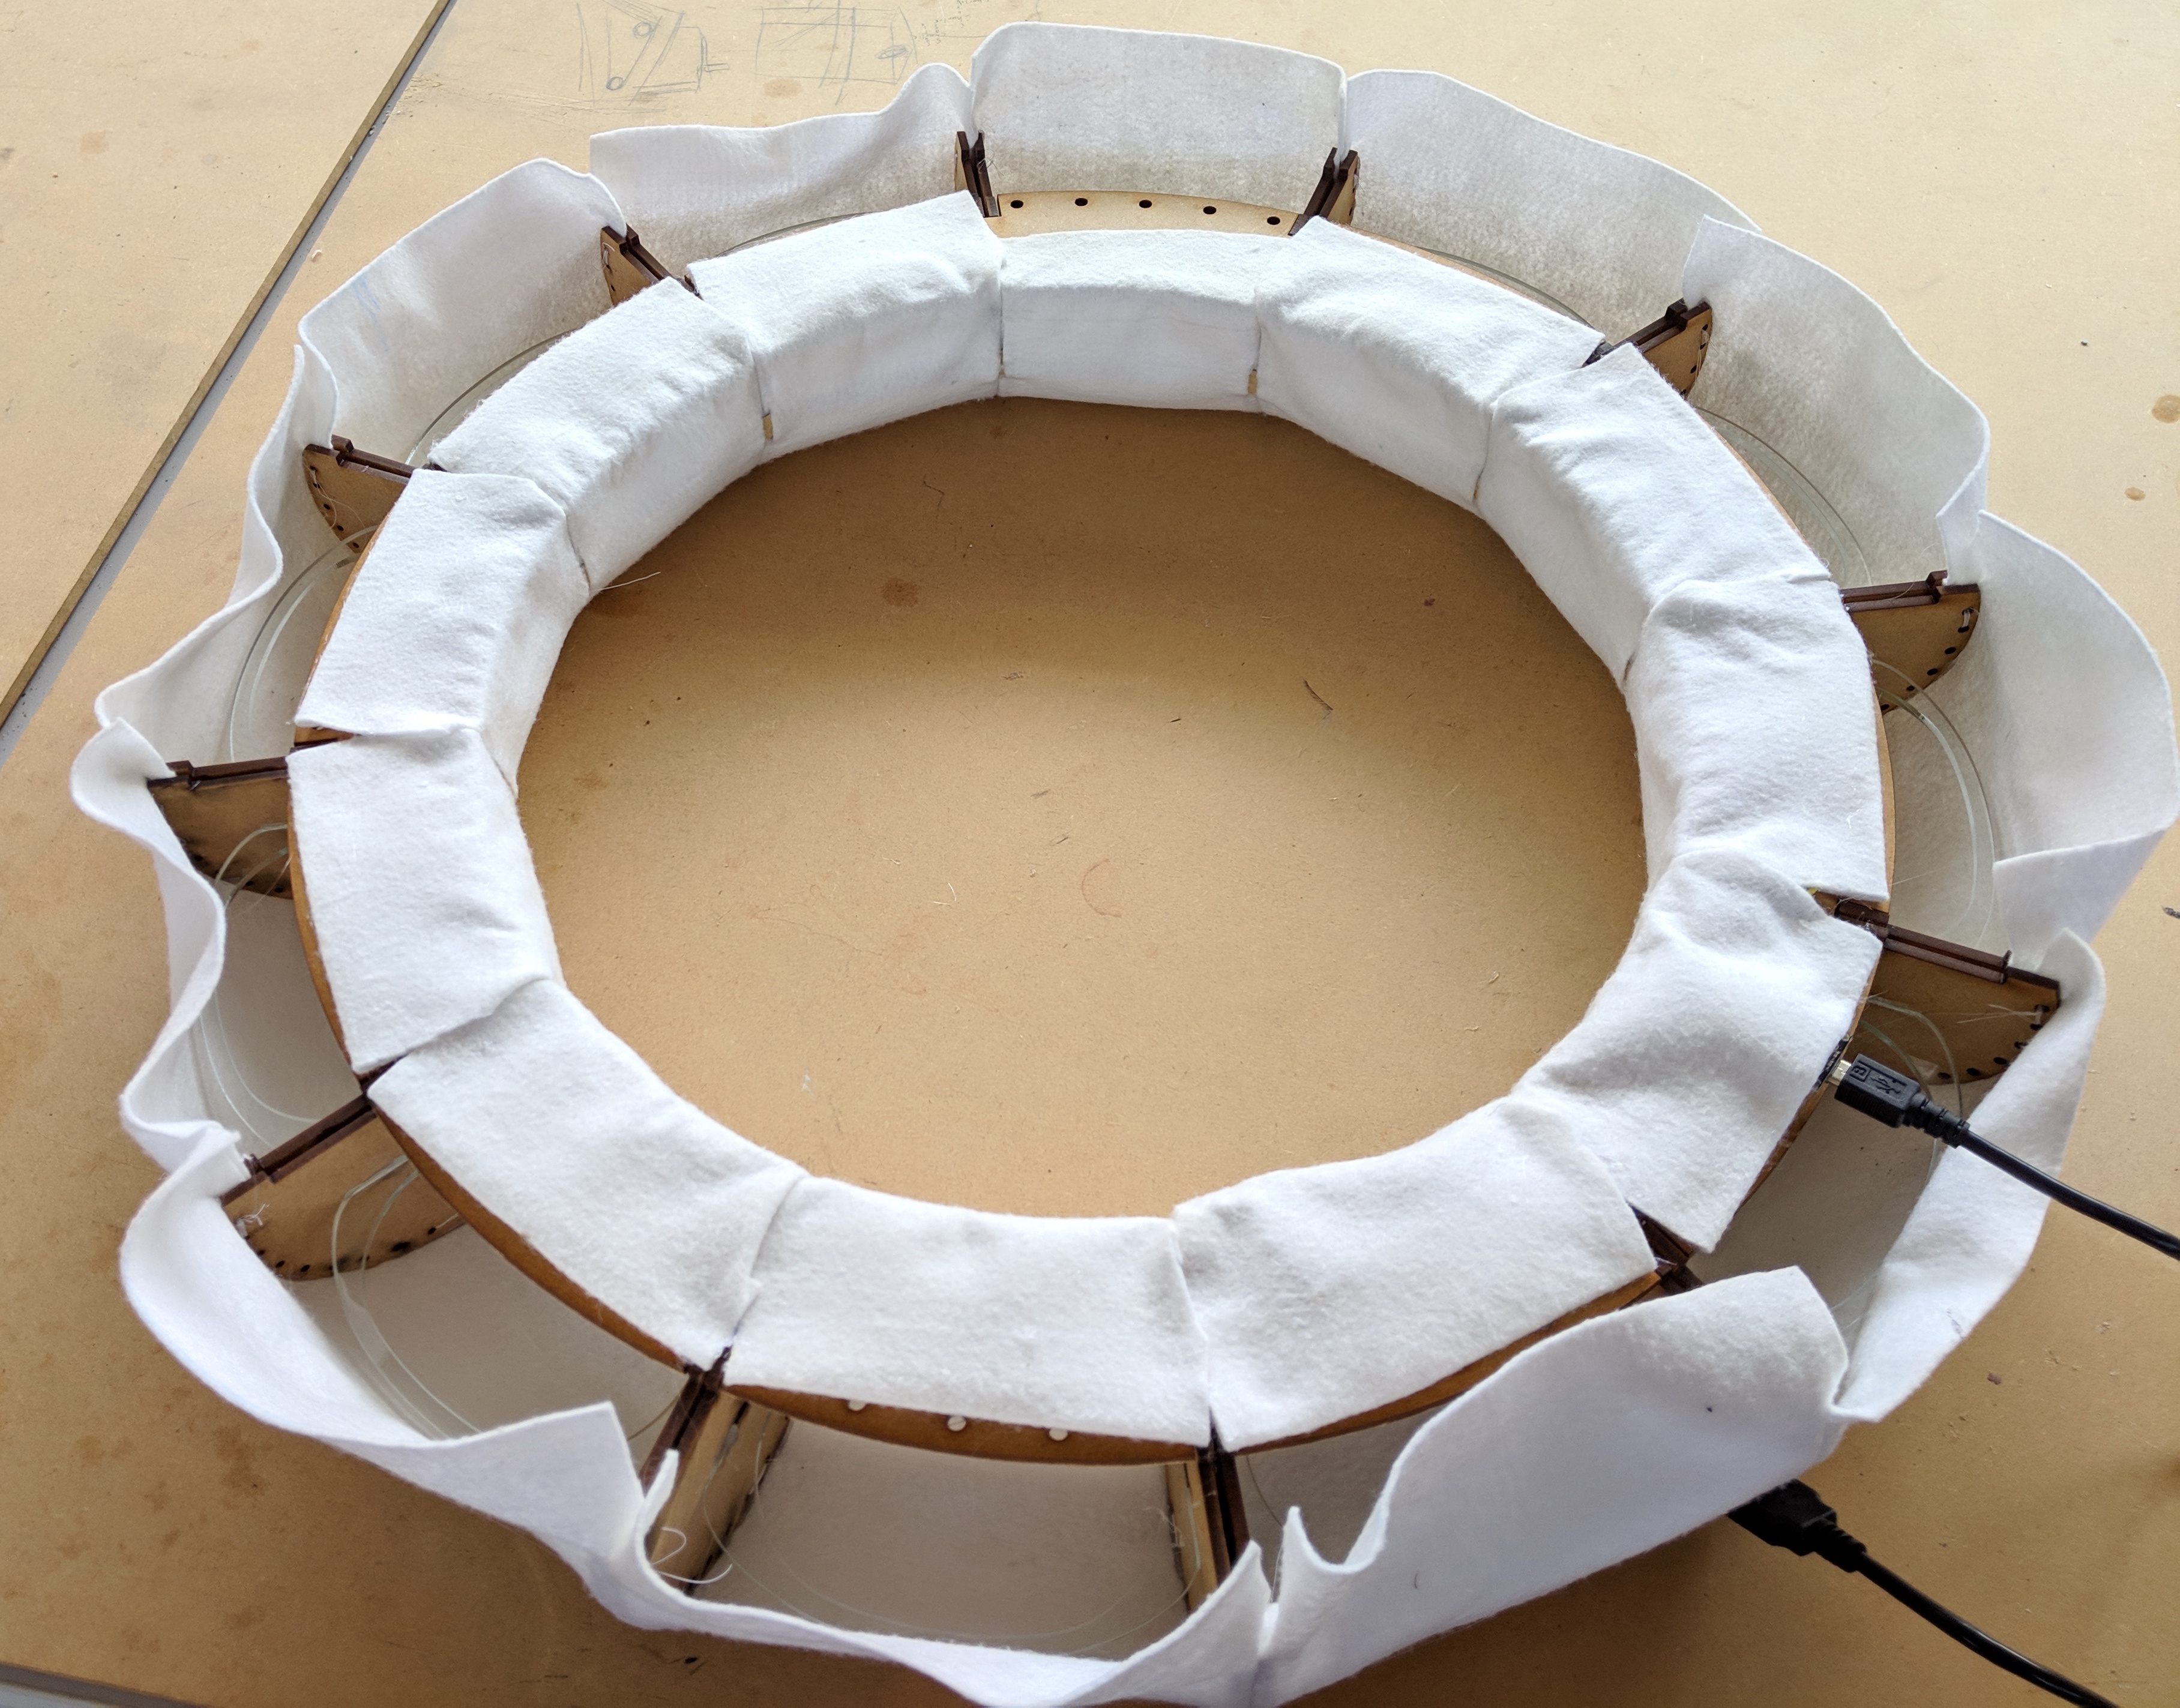
Decided on felt as my final material. Cut the spacing pieces from clear acrylic , hoping the light will shine through
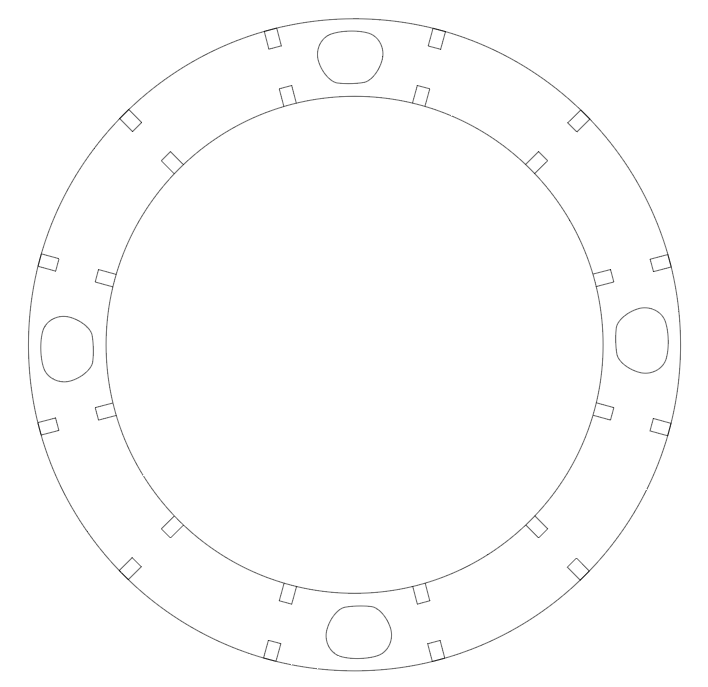
Because we are not allowed to cut MDF on the laser cutter in the Fab lab and the original design for the back of the clock would’ve been too big for any laser cutters in the 3D workshop I had to alter the design slightly. To problem solve I dedcided to make the back of the clock from seperate pieces. Here is the inner piece. It has a cut-out every third section that will allow me to push the fabric back into place later, should it become dented or sunken.
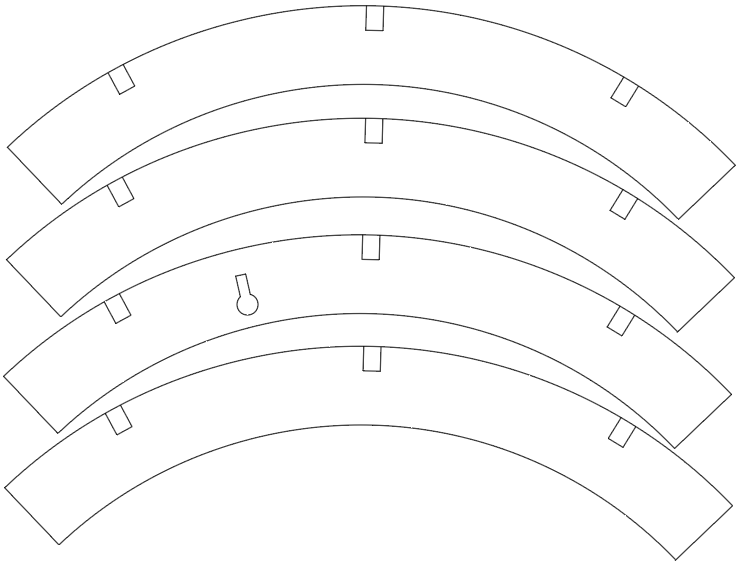
These piececs make up the outer section of the back of the clock.
The lock shaped cutout enables the clock to be hung on the wall with a drawing pin.
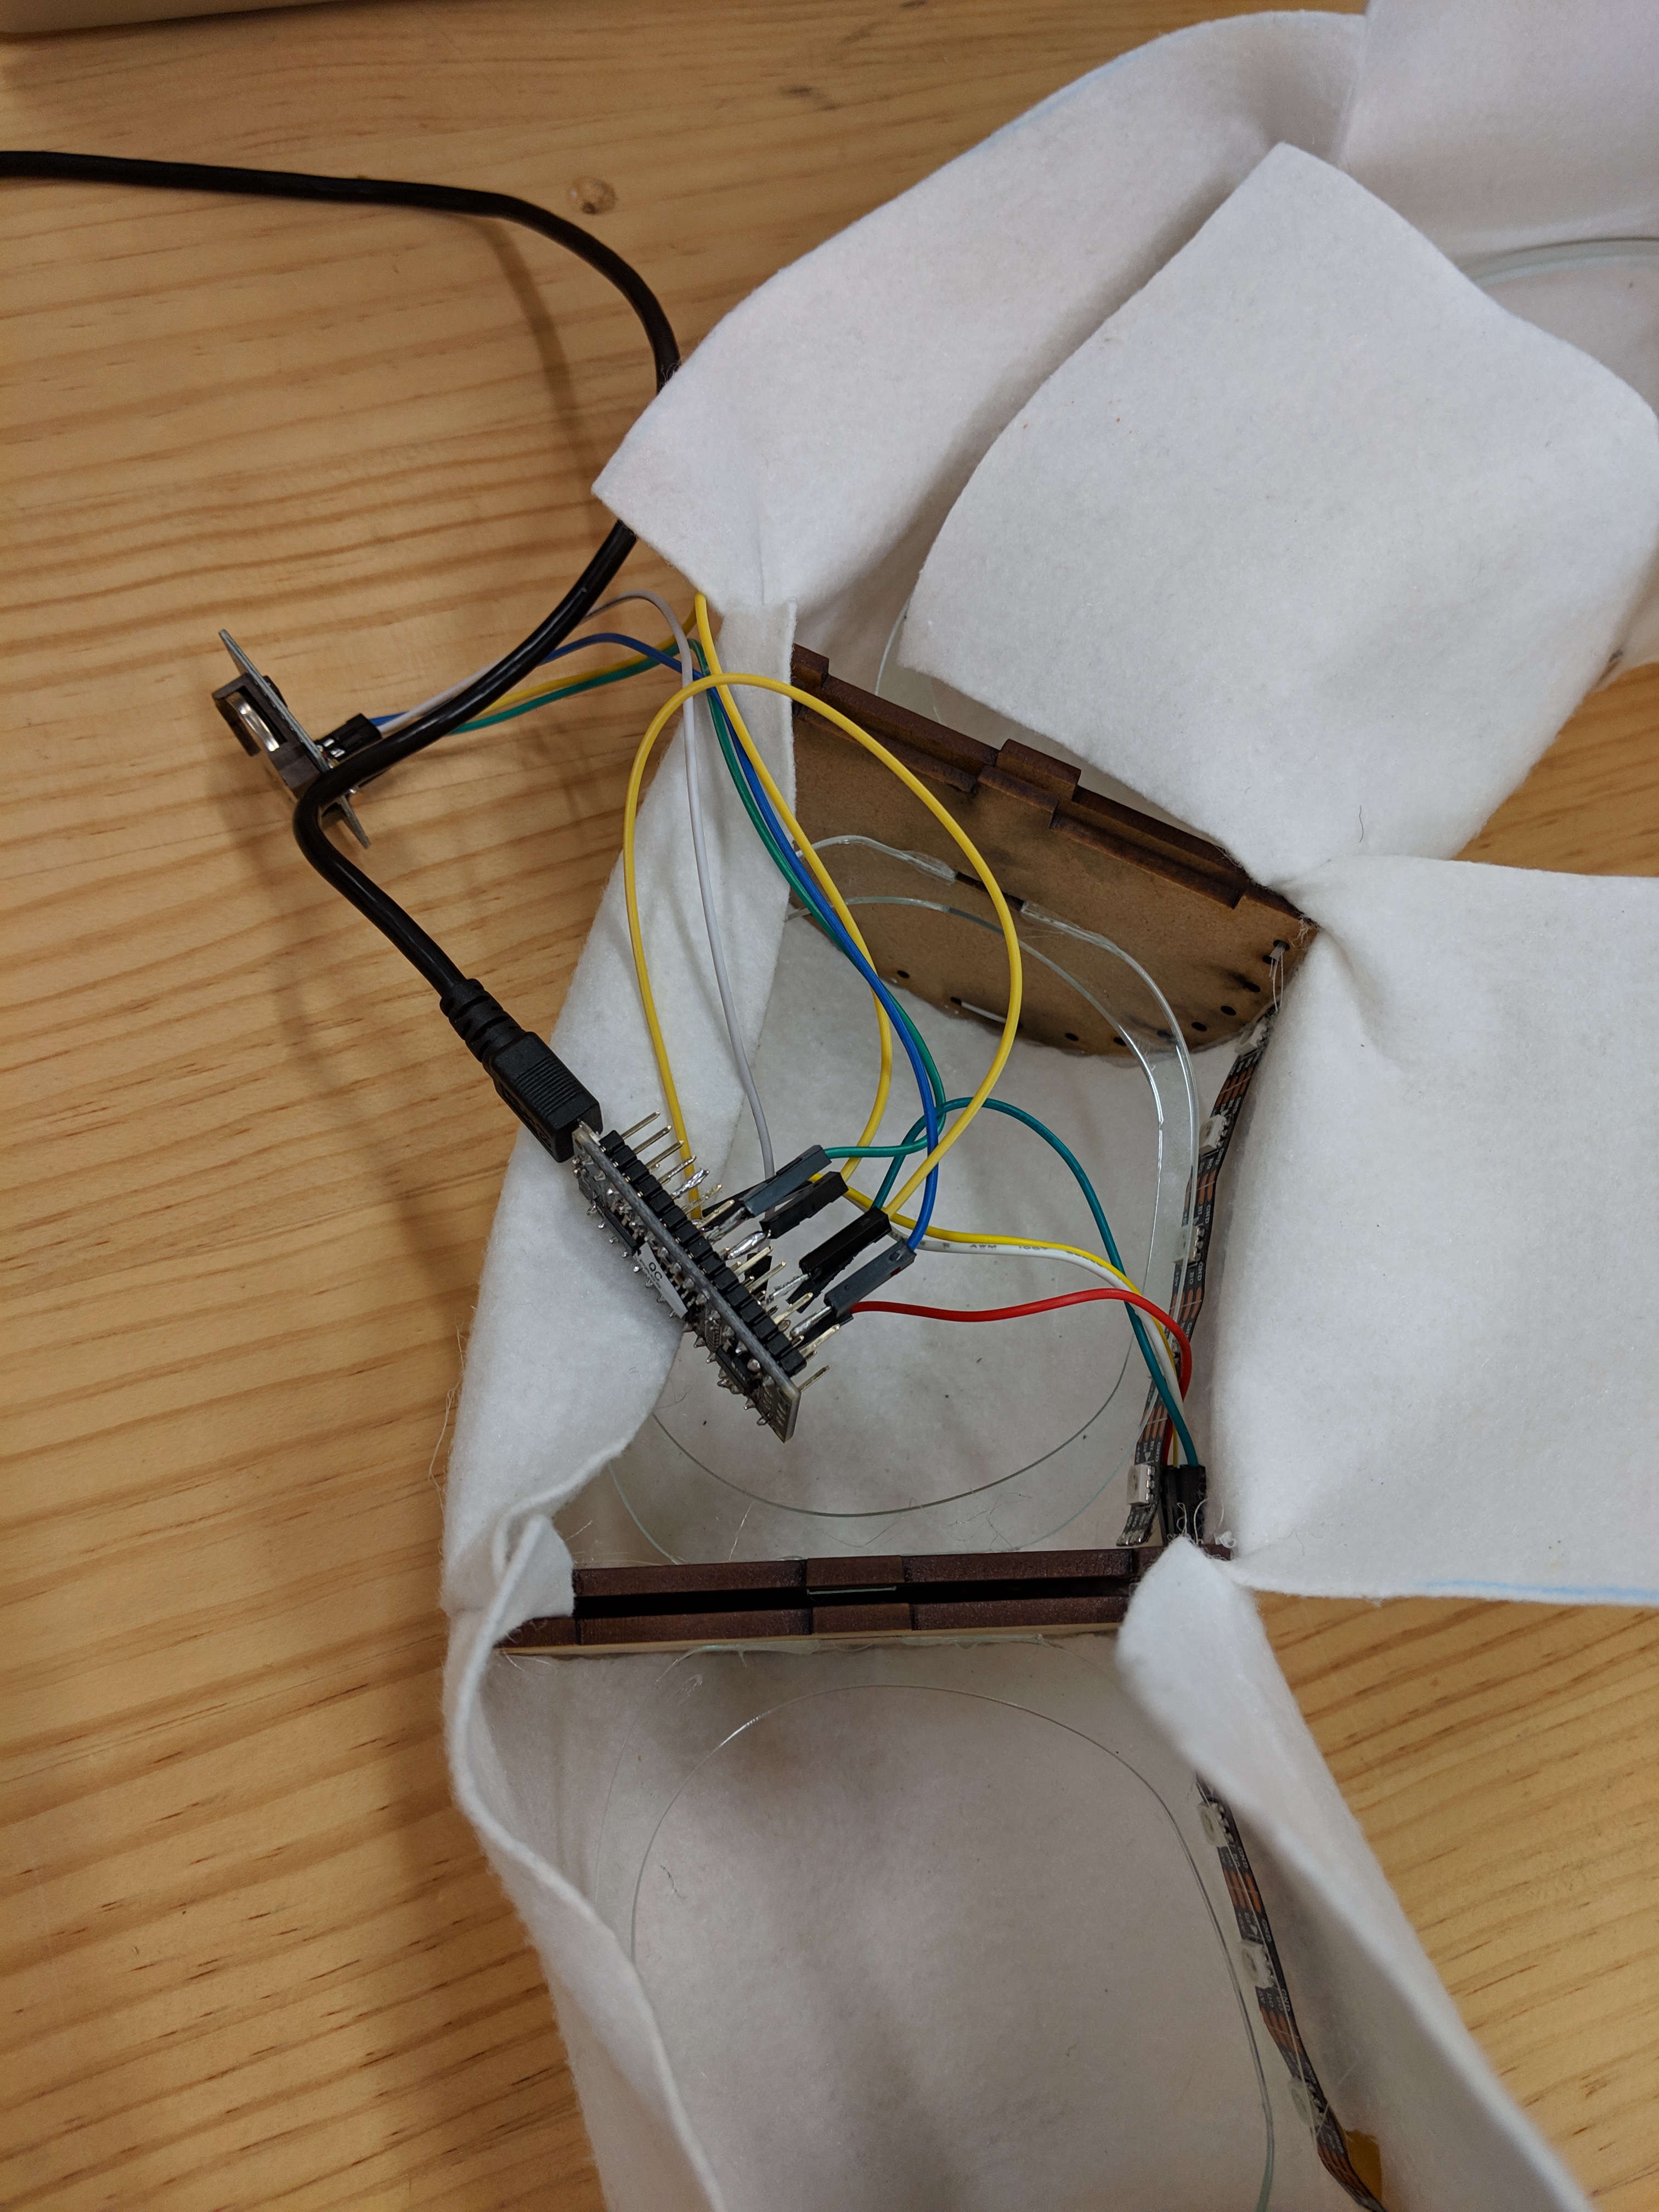
Soldering this was SO fiddly. I used the diagram in my ‘wiring up’ blog post as guidance as well as some information from: https://create.arduino.cc/projecthub/mitov/arduino-nano-ds1307-real-time-clock-rtc-with-visuino-572ad8. This is because after talking with Harry about cordless power sources / battery options I realised that to supply the Arduino with the 5V it needs – no more no less – I would need to purchase a voltage converter.
I would’ve liked to refine the design more especially in regards to the back of the clock to make it a more complete product but luckily it does not affect the appearance when in use.
